3.6.3 Adding an item
Article goal
Show how to add a new item to the system and make it available for sale at the bar.
What you will learn
- How to create an item card in the system
- Which parameters must be filled in
What happens if you don’t add the item in time
- Loss of profit — the client cannot buy what does not exist in the system
- Incorrect analytics — sales reports will be incomplete
- Store confusion — no stock tracking
- Customer dissatisfaction — the client cannot place an order via the app
Step-by-step guide
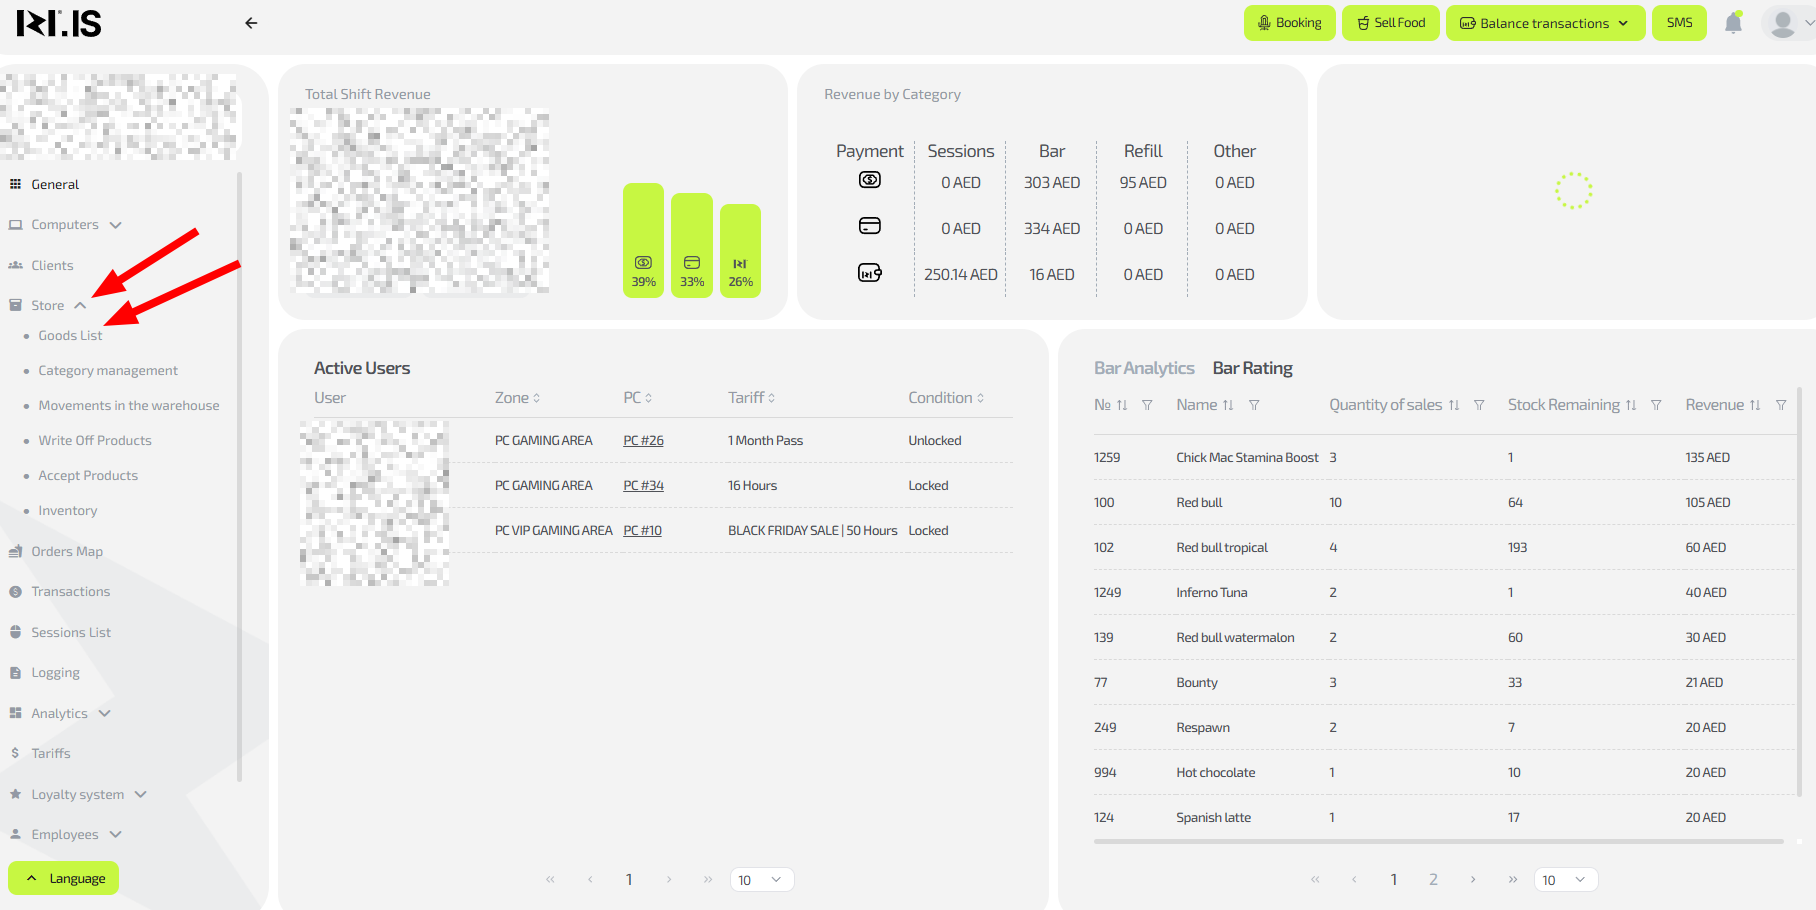
- To add an item, on the main page in the left menu select “Store / Items list”.
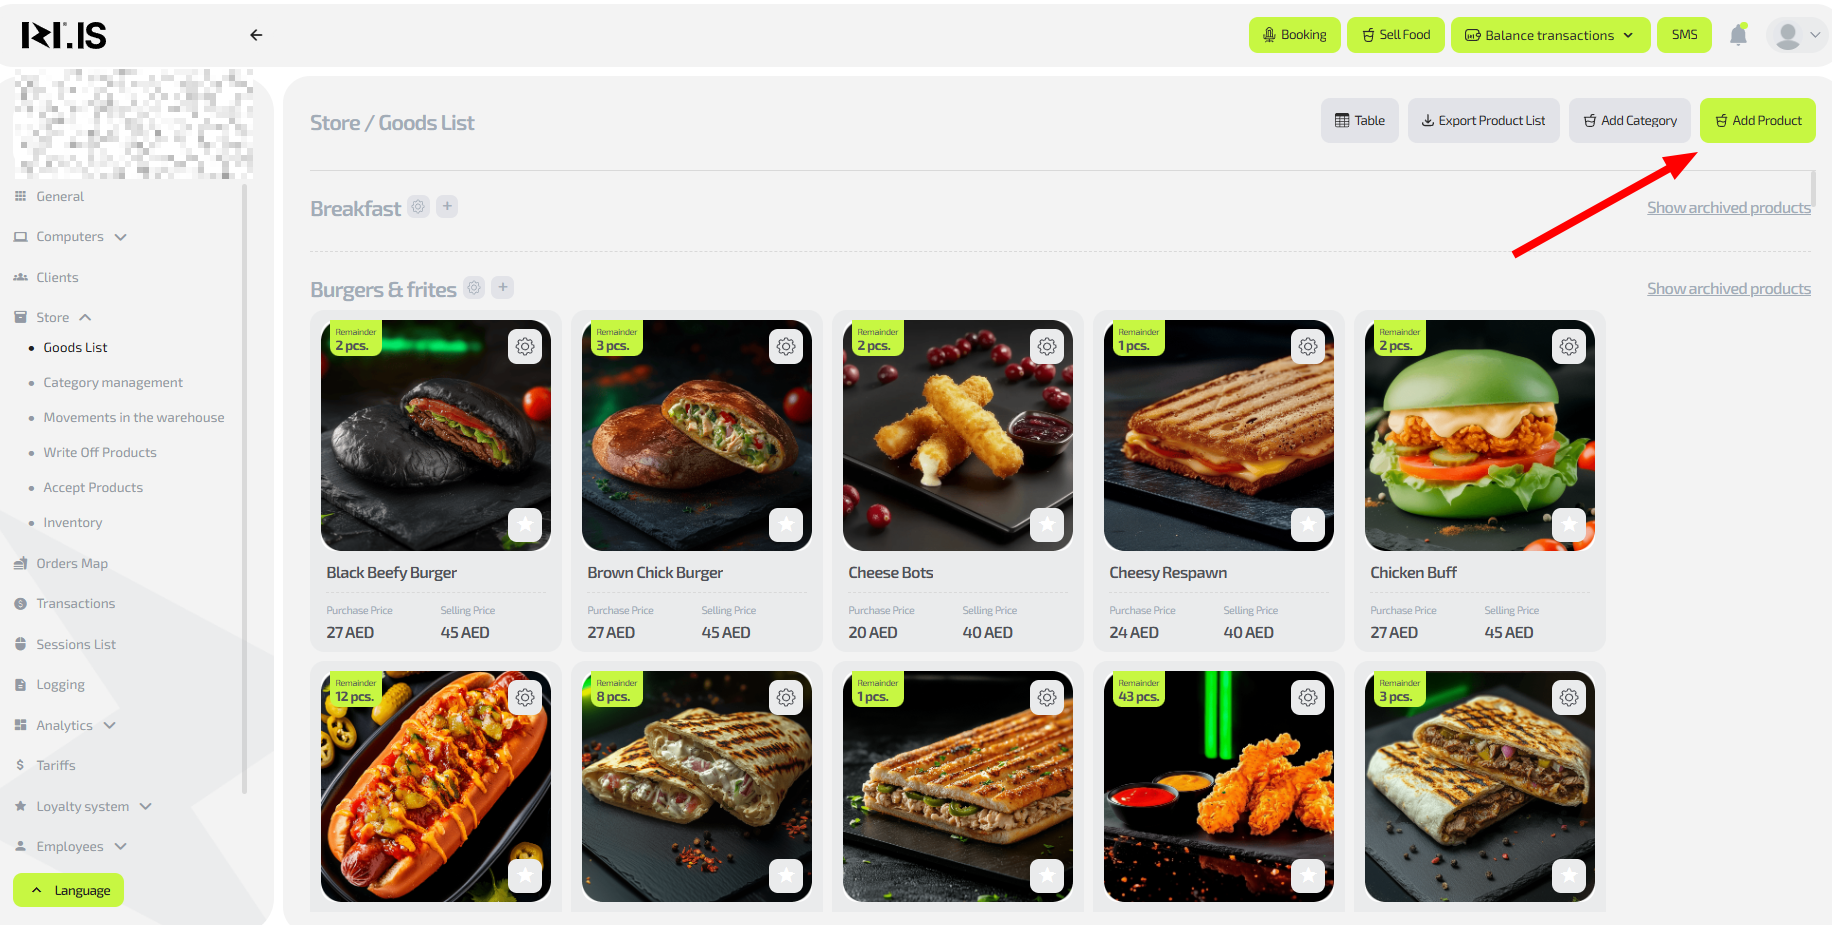
- In the upper-right corner, click the “Add product” button.
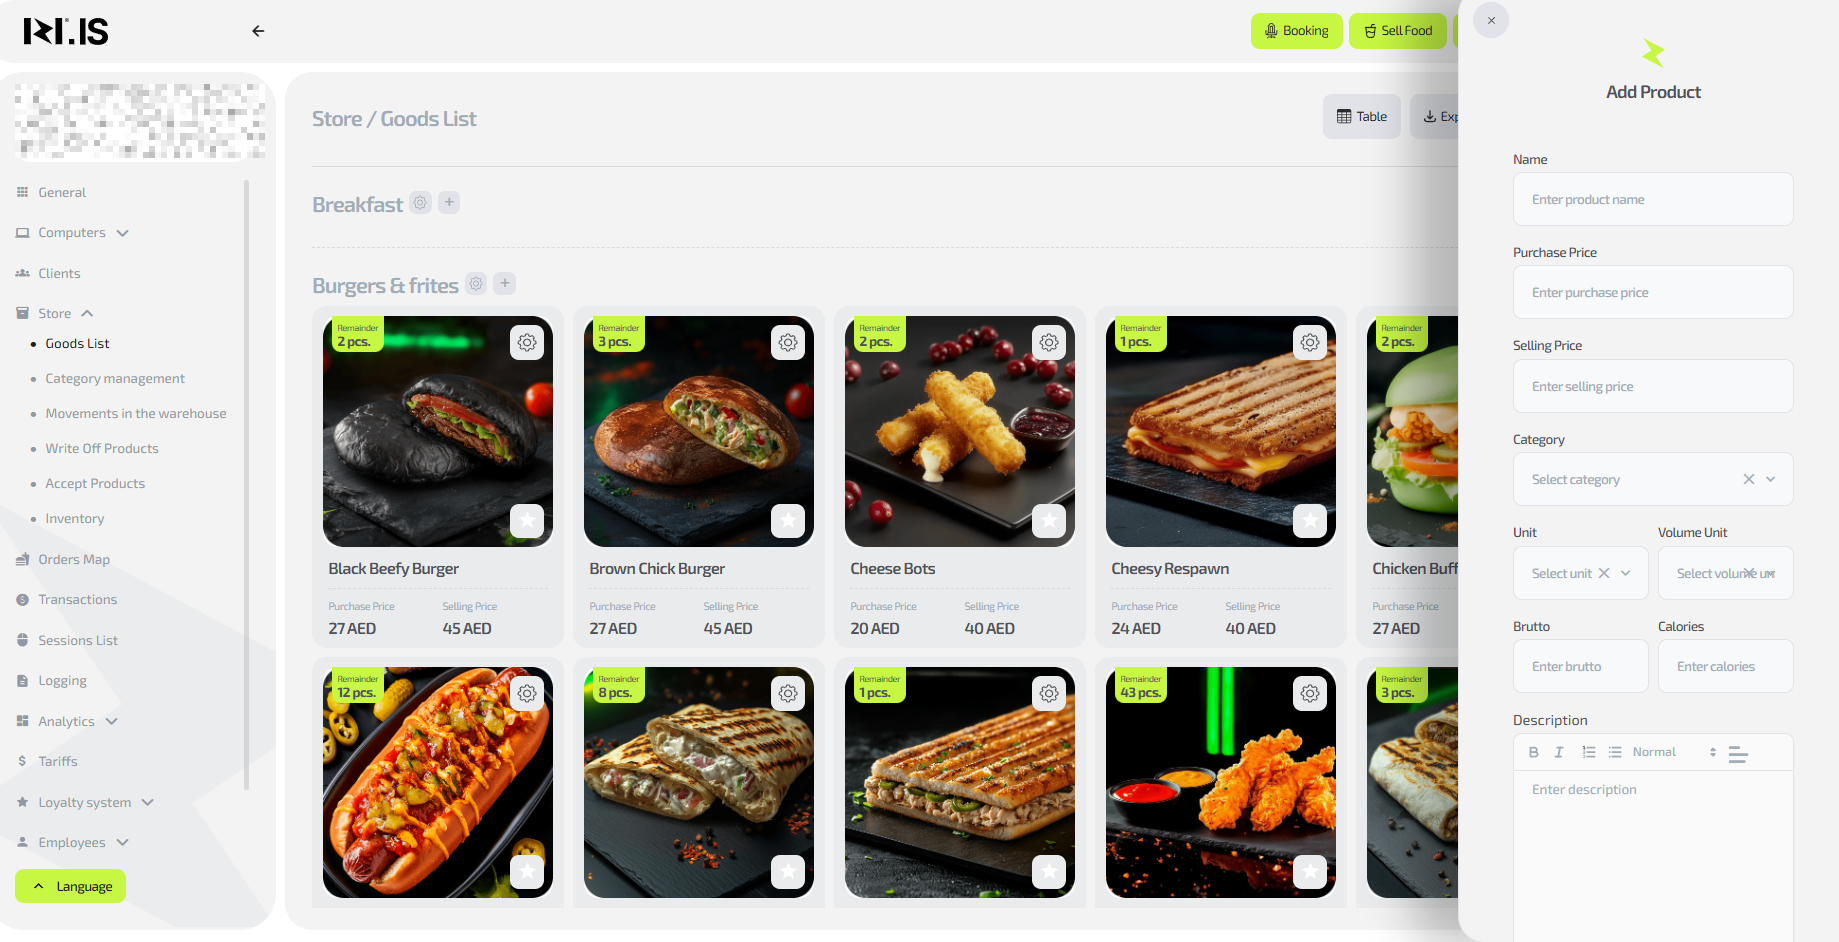
- Fill in all item parameters:
- Name;
- Purchase price;
- Sale price;
- Category;
- Unit of measurement;
- Volume unit;
- Gross weight;
- Calories;
- Description;
- Photo.
Note: the “Gross weight” and “Calories” fields are mandatory.
If you leave them empty, the item cannot be saved.
It is acceptable to enter approximate values if you do not know the exact ones.
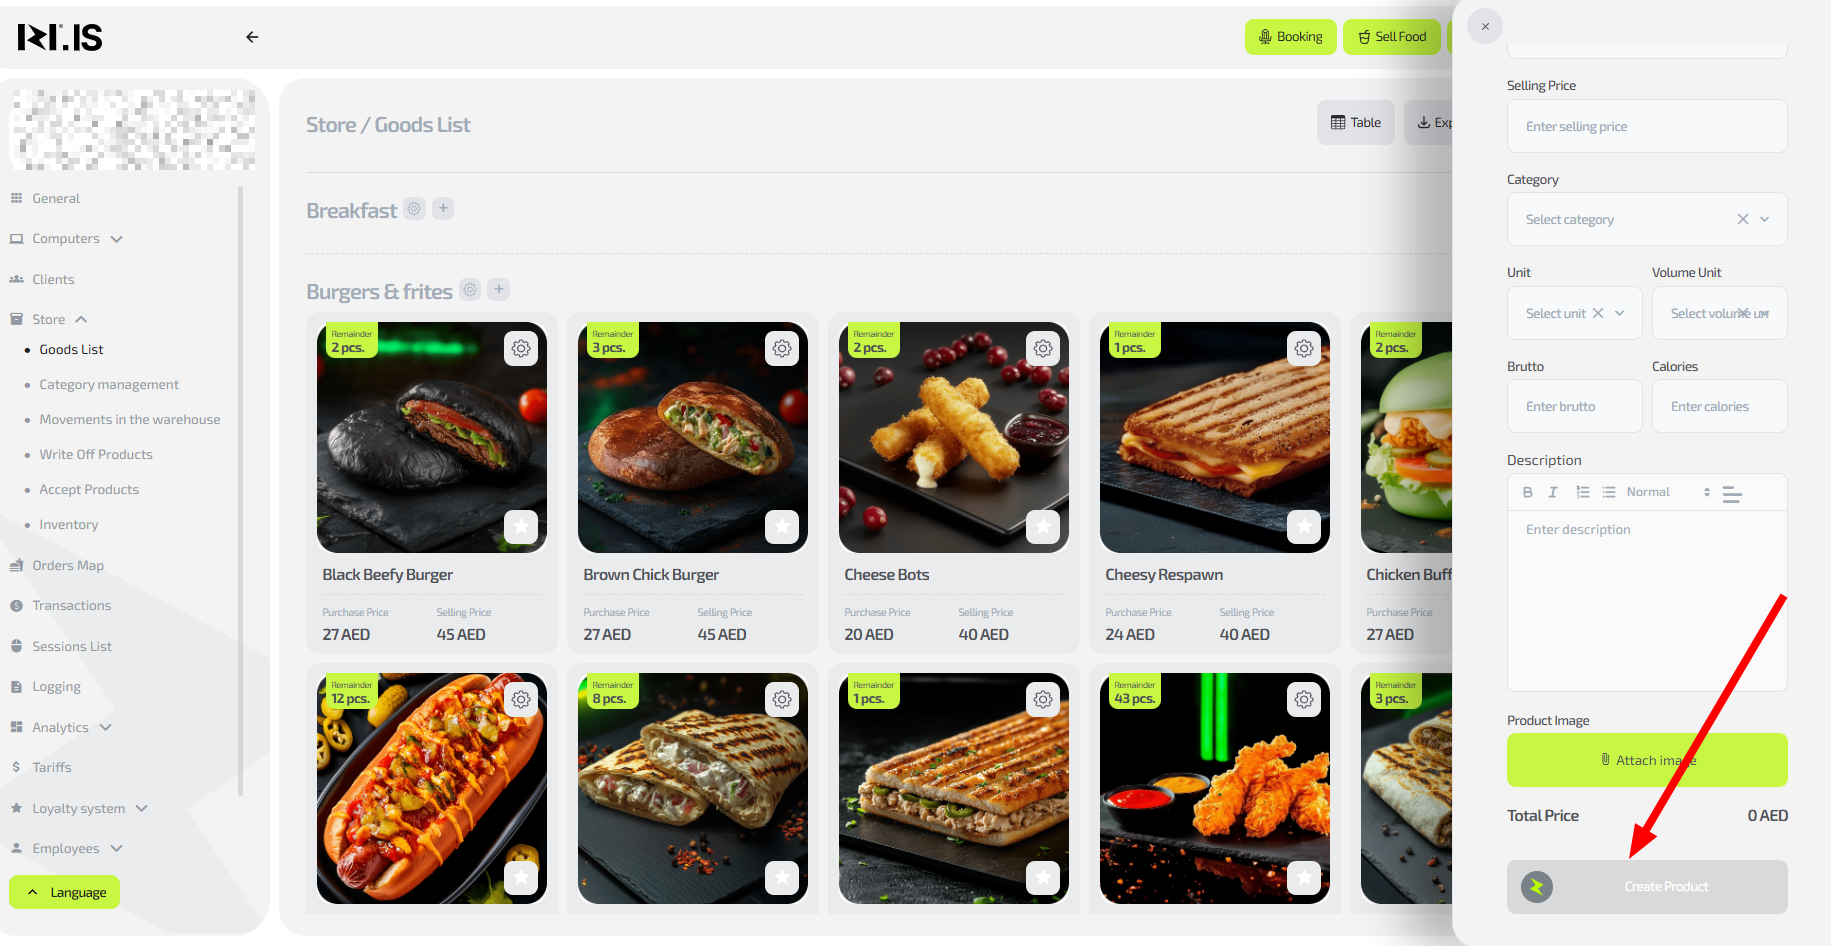
- Click “Create item”.
The item will be created. To make it available for purchase, go to “Store / Receive items” and click “Add product+”.
Details on receiving items to the store are described in article 3.6.8 of this guide.